In the world of electrical and electronic devices, switches play a crucial role in controlling the flow of current. Among the many types of switches available, rocker switches are among the most commonly used due to their simplicity, reliability, and user-friendly design. Whether you’re using a household appliance, operating a vehicle, or managing industrial equipment, there’s a good chance you’ve interacted with a rocker switch without even realizing it.
In this blog post, we’ll explore what a rocker switch is, how it works, its various types, applications, and why it remains a popular choice across multiple industries.
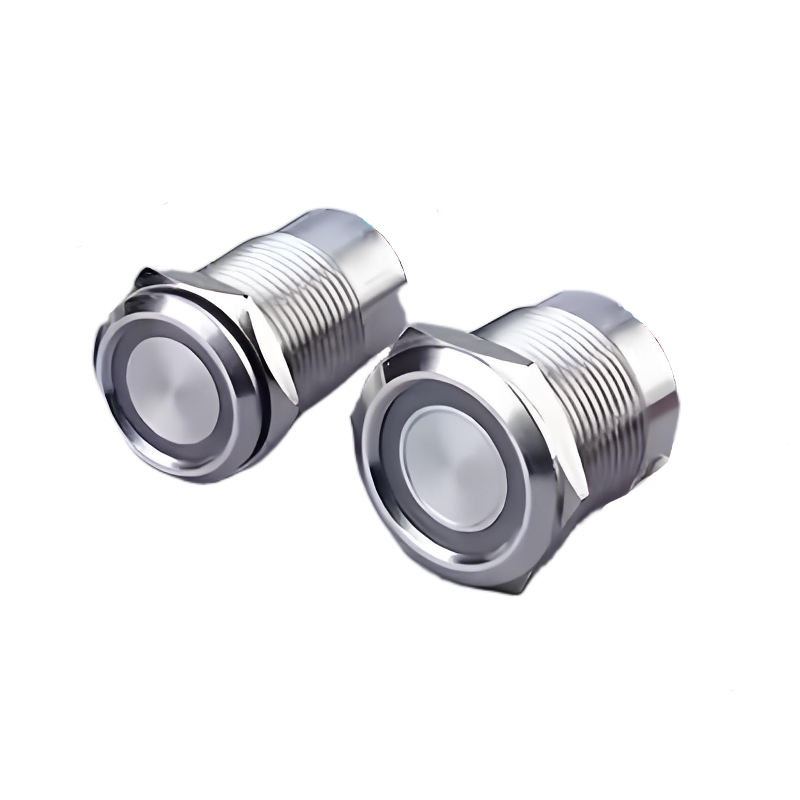
What Is a Rocker Switch?
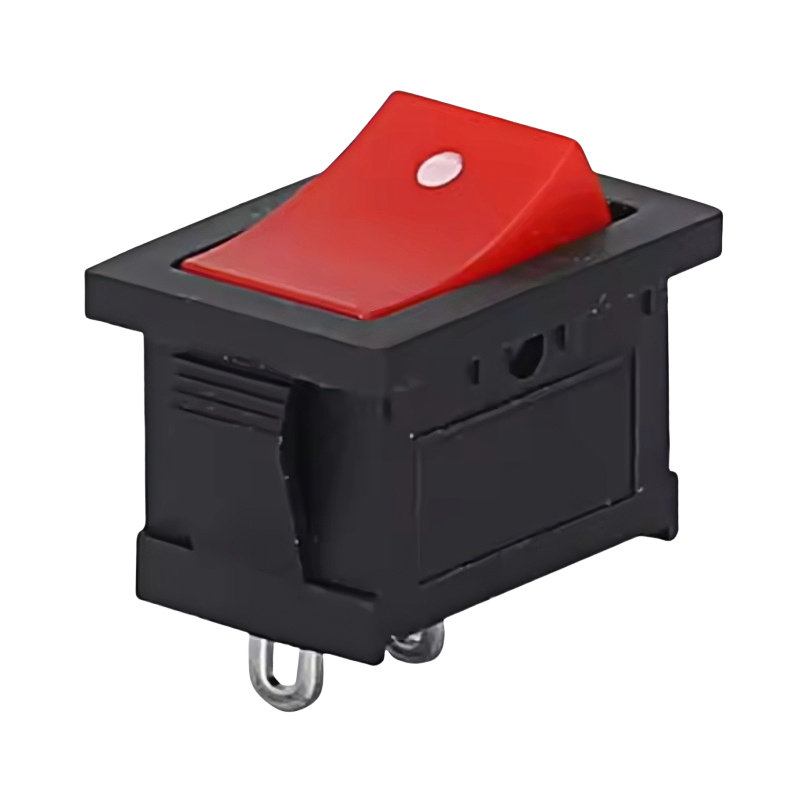
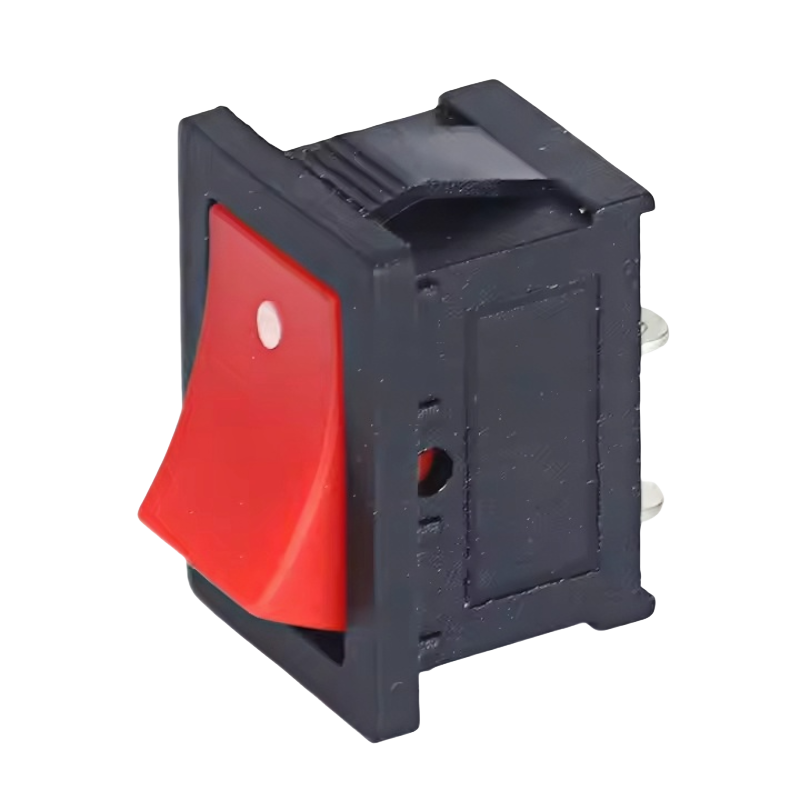
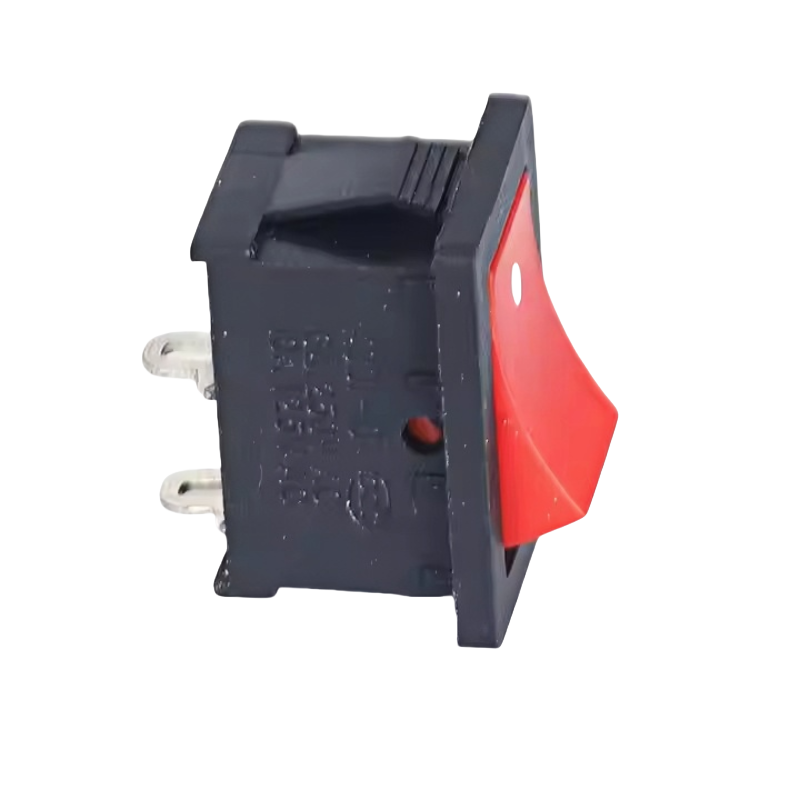
A rocker switch is an on/off electrical switch that features a flat, rectangular actuator (button) which “rocks” back and forth when pressed. One side typically has a raised edge to indicate the ON position, while the other side may be flush or slightly indented to represent OFF. This intuitive visual and tactile feedback makes it easy for users to identify the current state of the device.
Rocker switches are commonly found in:
- Household appliances
- Automotive systems
- Marine equipment
- Industrial machinery
- Commercial electronics
They are generally designed for use in low to medium voltage systems (typically 12V to 250V), though specialized versions can handle higher voltages and currents.
How Does a Rocker Switch Work?
At its core, a rocker switch operates by completing or interrupting an electrical circuit. When the switch is in the ON position, the internal contacts are connected, allowing current to flow through the circuit. When switched to OFF, the contacts separate, breaking the circuit and stopping the current flow.
Most rocker switches are momentary or maintained:
- Maintained Rocker Switch: The switch stays in the position you set it to — either ON or OFF — until manually toggled again.
- Momentary Rocker Switch: Only activates while being pressed and returns to its original position once released. These are less common but still used in specific applications like control panels or test equipment.
The mechanical design inside the switch ensures durability and longevity, often rated for tens of thousands of cycles before failure.
Common Types of Rocker Switches
While all rocker switches serve the same basic function, they come in a variety of configurations to suit different needs. Here are some of the most common types:
1. Standard Rocker Switch
This is the most basic type, featuring two positions: ON and OFF. It’s widely used in home appliances, lighting fixtures, and small electronics.
2. Illuminated Rocker Switch
These switches include built-in LED lights to indicate the ON/OFF status. The illumination helps users quickly identify the switch state, especially in low-light environments.
3. Multi-Pole Rocker Switch
Also known as double-pole or triple-pole switches, these control multiple circuits simultaneously. They are often used in high-power applications such as motors, heaters, or industrial machines.
4. Waterproof Rocker Switch
Designed with sealed enclosures, waterproof rockers are ideal for outdoor, marine, or wet environments. They are usually rated with an IP65, IP67, or higher protection level against dust and water ingress.
5. Push-On/Push-Off Rocker Switch
Unlike standard toggle-style rockers, these switches use a push mechanism to change states. Press once to turn ON, press again to turn OFF. They offer a sleek look and are popular in modern appliances and automotive interiors.
6. Custom Rocker Switch
Some manufacturers offer customized options including unique colors, logos, symbols, or special wiring configurations tailored to OEM requirements.
Key Components of a Rocker Switch
To better understand how a rocker switch functions, let’s break down its main components:
- Actuator (Button) – The visible part that users press. It moves up and down to toggle the switch.
- Terminals / Pins – Electrical connection points where wires are attached. Common configurations include 2-pin, 3-pin, 4-pin, or more.
- Contacts – Internal metal parts that open or close the circuit based on the switch position.
- Housing – The outer casing that protects the internal components from dust, moisture, and physical damage.
- LED Indicator (if applicable) – Provides visual feedback of the switch state.
Each component contributes to the overall performance, safety, and usability of the switch.
Applications of Rocker Switches
Thanks to their versatility and ease of use, rocker switches are used across a wide range of industries and applications:
1. Consumer Electronics & Home Appliances
From coffee makers and blenders to power tools and vacuum cleaners, rocker switches provide a simple and effective way to control power flow.
2. Automotive Industry
Inside cars, trucks, and recreational vehicles (RVs), rocker switches are used to operate lights, fans, windows, and auxiliary equipment like winches or fog lamps.
3. Marine and Boating Equipment
Marine-grade rocker switches are essential in boats and yachts, where exposure to water and salt requires durable, corrosion-resistant designs.
4. Industrial Machinery
In manufacturing plants and heavy equipment, rocker switches help operators manage complex systems safely and efficiently.
5. Medical Devices
In healthcare settings, illuminated and sterilizable rocker switches are used in diagnostic machines, patient monitors, and portable medical devices.
6. Recreational Vehicles (RVs) and Campers
Many RVs use rocker switches for interior lighting, water pumps, HVAC systems, and entertainment units.
7. DIY and Custom Projects
Hobbyists and engineers often use rocker switches in custom electronics projects, robotics, model trains, and home automation systems.
Why Choose a Rocker Switch Over Other Switch Types?
There are several reasons why designers and engineers choose rocker switches over other types like toggle switches, slide switches, or push buttons:
User-Friendly Design
The rocking motion is intuitive and requires minimal effort, making it accessible to users of all ages.
Clear Visual Feedback
Raised and indented markings, along with optional LED indicators, make it easy to tell if a device is on or off.
Durability
High-quality rocker switches are built to last, often with ratings for tens of thousands of operations and resistance to vibration and shock.
Versatility
Available in multiple sizes, voltages, current ratings, and mounting styles, rocker switches can be adapted to nearly any application.
Space-Efficient
Their compact design allows them to fit into tight spaces, making them ideal for panel-mounted installations.
How to Choose the Right Rocker Switch
When selecting a rocker switch for your project or product, consider the following factors:
Voltage and Current Rating
Ensure the switch can handle the voltage and amperage of your system. Common ratings include 12V, 24V, 120V, and 250V, with current capacities ranging from 1A to 16A or more.
Environmental Conditions
If the switch will be exposed to moisture, dust, or extreme temperatures, opt for a waterproof or sealed version with appropriate IP ratings (e.g., IP65, IP67).
Illumination Needs
Choose between non-illuminated, LED-backlit, or color-coded switches depending on visibility requirements.
Mounting Type
Determine whether you need a panel mount, PCB mount, or surface mount switch based on your installation setup.
Pole and Throw Configuration
Understand the number of circuits you need to control. Single-pole single-throw (SPST), double-pole double-throw (DPDT), and multi-pole options are available.
Size and Style
Rocker switches come in various sizes, such as 12mm, 16mm, 19mm, and 22mm diameters. Choose one that fits your panel cutout.
Installation Tips for Rocker Switches
Proper installation is key to ensuring safe and long-lasting operation. Here are some tips to follow:
- Turn Off Power Before Installation Always disconnect the power source before wiring or replacing a switch to avoid electric shock or short circuits.
- Use the Correct Wiring Diagram Refer to the manufacturer’s datasheet or wiring diagram to ensure correct terminal connections.
- Secure Connections Make sure all wire terminals are tightly fastened and insulated to prevent loose connections or arcing.
- Test the Switch After installation, test the switch to confirm it turns the device on and off correctly and that the indicator (if present) works properly.
- Check for Environmental Protection If installing outdoors or in a wet area, verify that the switch housing is fully sealed and protected against moisture.
Comments are closed