Metal push button switches are widely used in industrial, automotive, marine, and home applications due to their durability and reliability. However, proper installation and regular maintenance are essential to ensure optimal performance and long service life.
In this article, we will walk through the key steps for installing a metal push button switch, how to maintain it over time, and best practices to follow when using these switches in different environments.
Understanding the Installation Process
Before beginning the installation of a metal push button switch, it’s important to understand the basic components involved and the tools required. The process is relatively straightforward, but attention to detail can prevent future issues such as loose connections or poor contact.
Step 1: Prepare the Panel
Most metal push button switches are mounted on control panels, dashboards, or enclosures. Begin by drilling a hole that matches the size of the switch — typically 16mm, 19mm, or 22mm. Make sure the edges are clean and free from burrs to allow for a secure fit.
Step 2: Insert the Switch
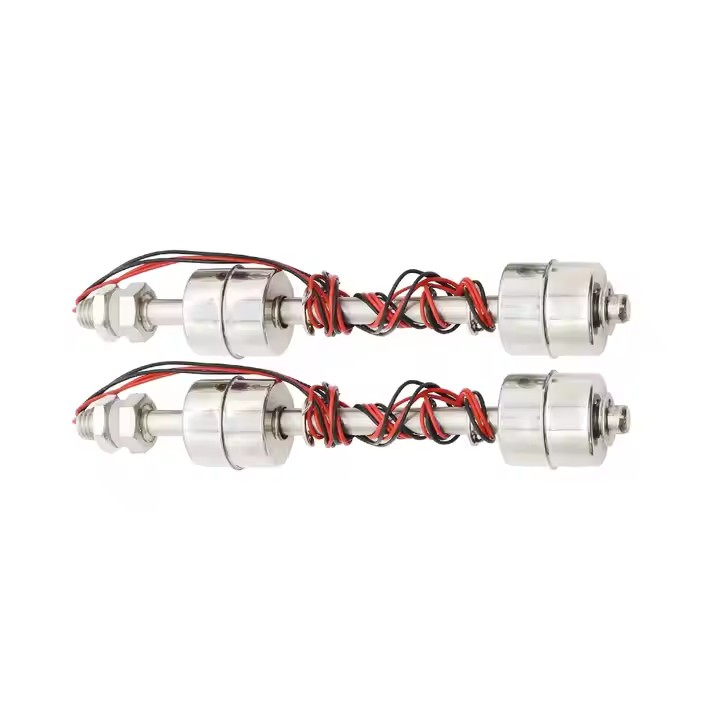
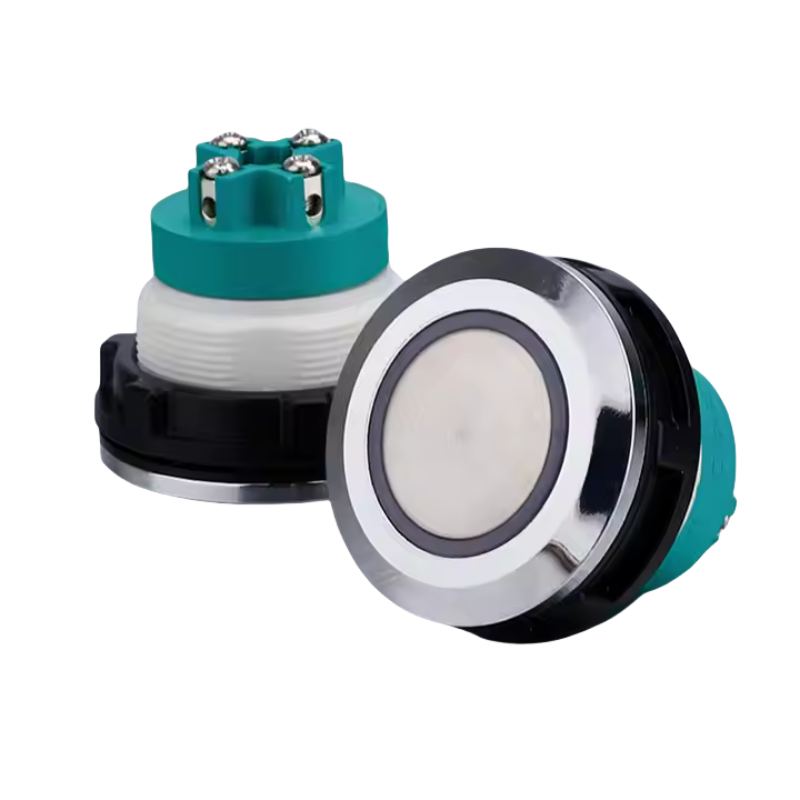
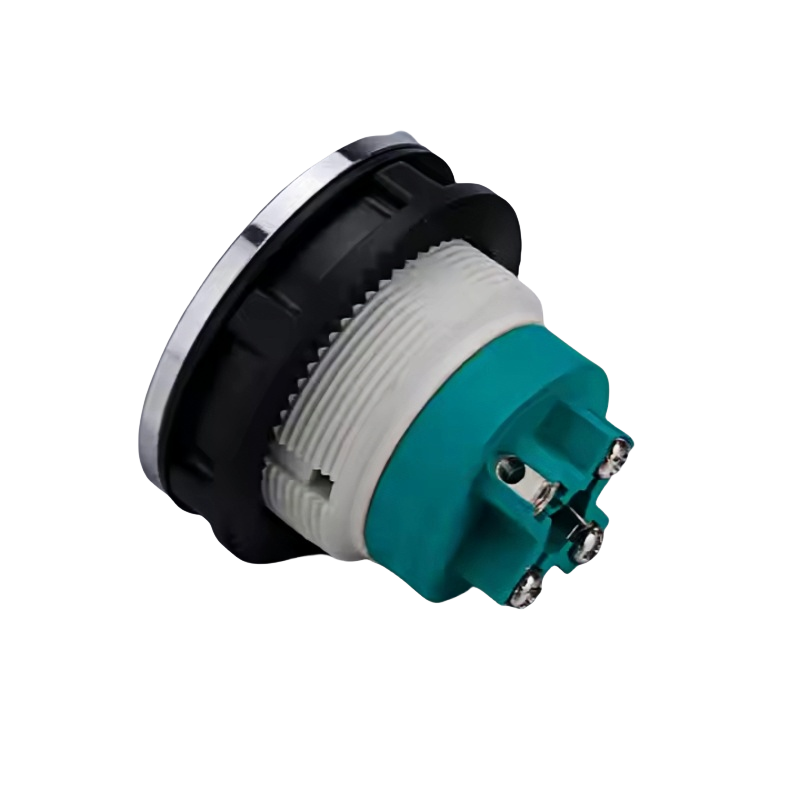
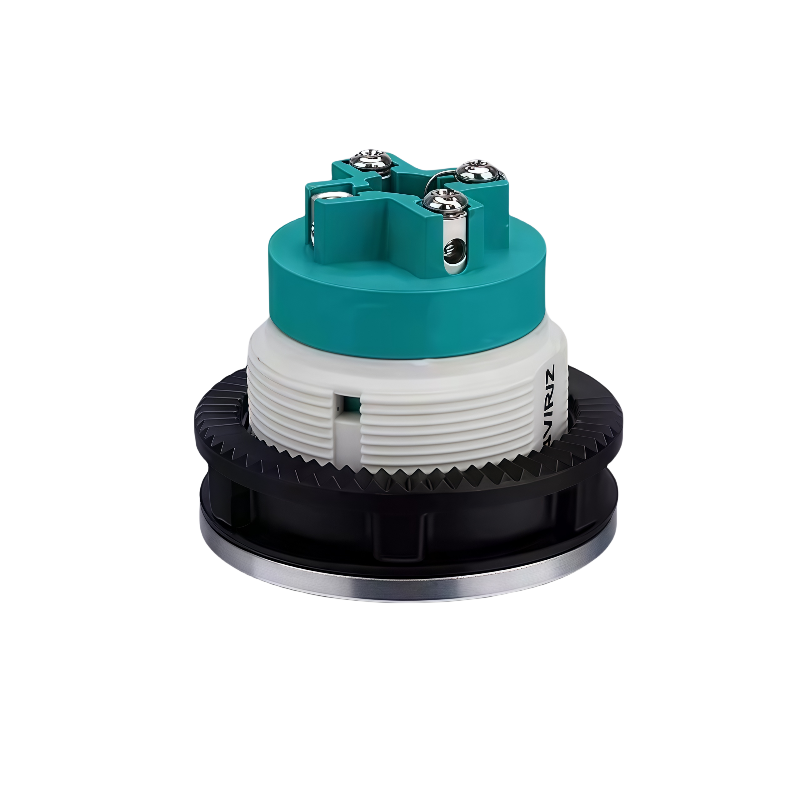
Place the switch into the mounting hole from the front side. Most models come with a threaded shaft that extends through the panel. From the back, slide on the washer and screw on the locking nut to hold the switch in place.
Tighten the nut carefully using a wrench or pliers, but avoid over-tightening, which may damage the threads or cause the switch to tilt.
Step 3: Connect the Wires
Each metal push button switch has terminal pins or screw terminals for wiring. Refer to the datasheet provided by the manufacturer to identify the correct wiring configuration.
Common types include:
- Normally Open (NO): Circuit closes when pressed.
- Normally Closed (NC): Circuit opens when pressed.
- Change-over (CO): Has both NO and NC contacts.
Strip the ends of the wires and connect them securely to the appropriate terminals. Use heat shrink tubing or insulation sleeves to protect the connections from short circuits.
Step 4: Test the Functionality
Once the wiring is complete, apply power to the system and test the switch. Ensure it operates smoothly and that any LED indicators light up correctly. If the switch does not respond, double-check the wiring and connections.
Tips for Proper Installation
To ensure reliable operation and safety, follow these practical tips:
- Use the Right Tools: A screwdriver, wire stripper, wrench, and multimeter are essential for accurate installation.
- Avoid Over-Tightening: Excessive force during mounting can damage the switch body or affect its internal mechanism.
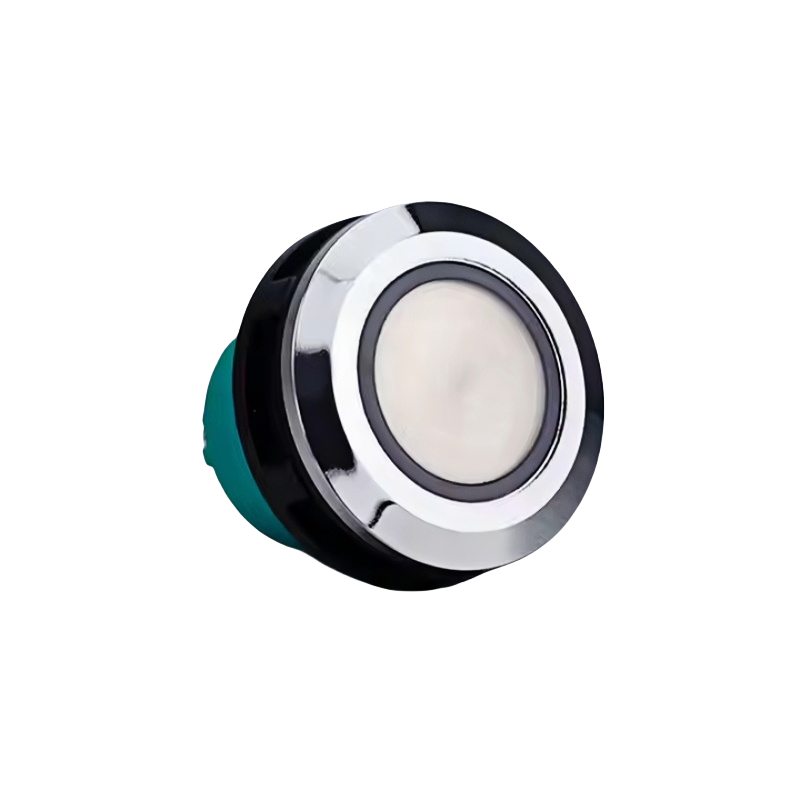
- Check for Polarity (if applicable): Some illuminated switches have polarity-sensitive LEDs, so make sure the positive and negative leads are connected correctly.
- Secure Loose Wires: Use cable ties or clips to keep wires organized and away from moving parts.
- Ensure Environmental Protection: If the switch is rated IP65 or higher, make sure the sealing gasket is properly seated before tightening the nut.
Maintenance of Metal Push Button Switches
While metal push button switches are known for their durability, they still require occasional maintenance to perform at their best over time.
Clean the Surface Regularly
Dust, dirt, and moisture can accumulate on the surface of the switch, especially in industrial or outdoor settings. Wipe the button with a dry or slightly damp cloth to remove debris. Avoid using harsh chemicals or abrasive materials that could scratch the finish.
Check for Corrosion
In marine or high-humidity environments, corrosion can develop around the terminals or inside the switch housing. Inspect the connections periodically and use a small brush or contact cleaner if needed.
Test Operation Periodically
Press the button several times to ensure smooth movement and consistent contact. If the switch feels stiff or unresponsive, it may be worn out and should be replaced.
Re-Tighten Mounting Hardware
Vibration from machinery or vehicles can cause the mounting nut to loosen over time. Periodically check and re-tighten the hardware to maintain a secure fit.
Common Issues and Troubleshooting
Even with proper installation and care, problems can sometimes occur. Here are some common issues and how to address them:
Issue 1: Switch Does Not Activate
Possible causes:
- Incorrect wiring
- Faulty power supply
- Damaged internal contacts
Solution: Double-check the wiring diagram, test the voltage with a multimeter, and inspect the switch for signs of wear.
Issue 2: Intermittent Connection
Possible causes:
- Loose wiring
- Oxidation on contacts
- Mechanical failure
Solution: Resecure all connections, clean the contacts gently with contact cleaner, or replace the switch if necessary.
Issue 3: LED Indicator Not Working
Possible causes:
- Burned-out LED
- Reversed polarity
- Broken circuit
Solution: Check the LED’s condition, verify correct wiring, and ensure the power source is delivering the right voltage.
Best Practices for Different Environments
The environment in which a metal push button switch is used plays a major role in its performance and longevity. Here are some best practices tailored to specific conditions.
Industrial Environments
Factories and production lines often expose switches to dust, oil, and vibration. Choose switches with sealed housings (IP65 or higher) and install them in control cabinets where possible.
Regular cleaning and scheduled inspections help maintain function and extend lifespan.
Automotive Applications
Switches used in cars, trucks, or electric vehicles must withstand temperature changes, road vibration, and frequent use. Opt for switches with solid metal construction and waterproof ratings if installed in exposed areas like door panels or under the hood.
Make sure wiring is protected from chafing or exposure to engine heat.
Marine and Outdoor Use
Waterproof switches rated IP67 or IP68 are ideal for boats, yachts, and outdoor equipment. Install them with proper seals and check for salt buildup regularly.
Use corrosion-resistant models made from stainless steel or brass for better protection.
Home Automation and DIY Projects
For personal electronics or smart home setups, choose switches based on aesthetics and functionality. Illuminated versions can improve usability in dim lighting.
Mount them securely in custom panels or enclosures to avoid accidental damage.
Final Thoughts
Proper installation and maintenance are just as important as choosing the right type of metal push button switch. By following the steps outlined above, users can ensure safe, efficient operation across a wide range of applications.
Whether you’re setting up an industrial control system, upgrading your vehicle, or building a custom electronics project, taking the time to install and care for your switches will pay off in the long run.
Understanding how to handle common issues and adapting to different environmental conditions ensures that your metal push button switches continue to deliver reliable performance year after year.