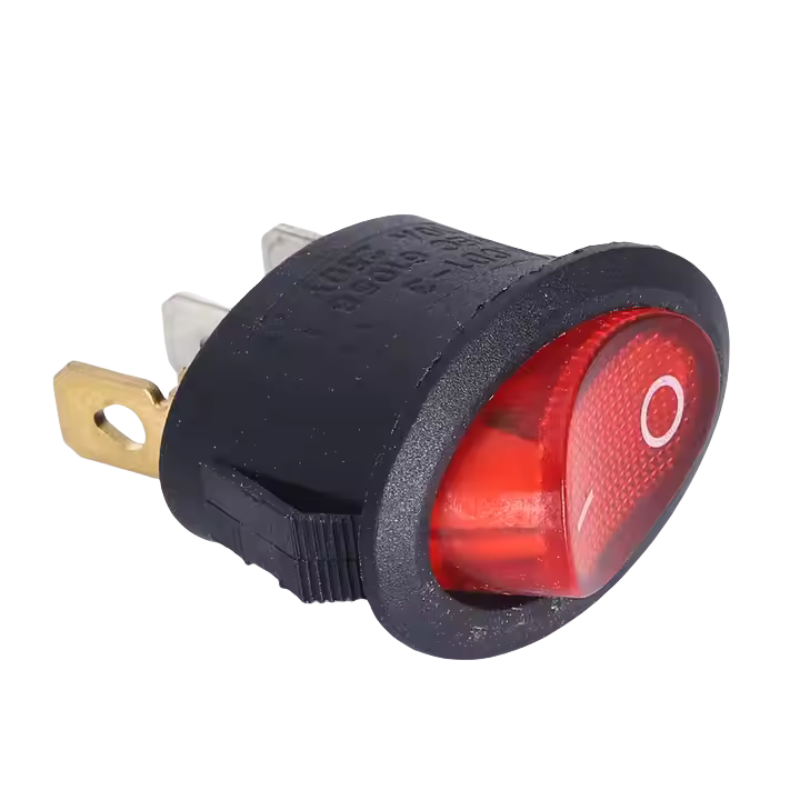
Gone are the days when light switches were merely utilitarian necessities, hidden in corners or painted over. Today, the humble rocker switch has emerged as a subtle yet powerful element of interior design. With an explosion of finishes, materials, and configurations, selecting your switches presents a unique opportunity to enhance your home’s style narrative. Let’s explore how to transform this functional component into a deliberate design statement.
The Design Power of the Rocker: More Than Just a Paddle
The inherent advantages of the rocker switch – its clean lines, broad surface area, and low profile – make it an ideal canvas for design expression. Unlike bulkier or more complex mechanisms, the rocker’s simplicity allows its material and form to shine. Here’s how they influence a room:
Visual Weight & Presence: A standard white plastic rocker is visually lightweight and recedes. A matte black metal rocker or a brass rocker with a screwless plate commands attention, becoming a deliberate feature.
Texture & Finish: The tactile and visual qualities of the switch and plate contribute significantly to the room’s sensory experience. Brushed nickel feels cool and modern, polished brass feels warm and luxurious, a textured nylon feels understated and soft.
Color Coordination: Switches are no longer just white or ivory. Deep charcoal, crisp black, brushed gold, aged bronze, or even bold colors can be chosen to match, contrast, or complement cabinetry pulls, faucets, light fixtures, furniture legs, or wall colors.
Line & Form Consistency: Rocker switches, especially the standardized Decora size, offer a consistent rectangular shape. Repeating this shape across outlets and other controls creates visual rhythm and order. Screwless plates enhance this by eliminating visual breaks.
Setting the Style Tone: The choice of switch finish can subtly reinforce or define a room’s style:
Modern/Minimalist: Sleek stainless steel, matte black, pure white with screwless plates. Emphasizes clean lines and lack of ornamentation.
Industrial: Brushed nickel, oil-rubbed bronze, galvanized metal finishes, sometimes with visible screws.
Scandinavian: Light woods (yes, wood veneer plates exist!), soft white, light grey nylon. Simple and functional.
Traditional/Classic: Polished brass, polished chrome, antique bronze, ceramic plates (often with patterns).
Coastal/Hamptons: Weathered nickel, white, light blues, beadboard-textured plates.
Mid-Century Modern: Warm brass, teak wood finishes, bold colors (mustard, avocado green – used sparingly!).
Material Mastery: Choosing Your Switch & Plate Palette
The material combination defines the look and feel:
Thermoplastics (Nylon, Polycarbonate):
Pros: Highly durable, impact-resistant, excellent electrical insulation, vast range of colors (from bright whites to deep charcoals), affordable. Textured finishes (like fine linen patterns) hide fingerprints well. Nylon plates are flexible and easy to install.
Cons: Can feel less premium than metal, though high-quality plastics are excellent. Glossier finishes show fingerprints.
Design Use: The workhorse. Perfect for achieving consistent color, modern looks, or budget-conscious projects. Great for kids’ rooms, hallways, anywhere needing durability.
Metal Finishes (Stainless Steel, Aluminum, Brass, Bronze, Copper):
Pros: Premium feel, substantial weight, high durability, excellent heat dissipation, luxurious aesthetics. Available in polished, brushed, satin, matte, antiqued, and oil-rubbed finishes. Creates strong visual anchors.
Cons: Higher cost, can feel cold to touch, can show fingerprints/oils (especially polished), requires careful installation to avoid scratching. Metal plates can be less forgiving on uneven walls.
Design Use: Ideal for feature walls, kitchens, bathrooms, living areas, entries – anywhere you want to elevate the feel. Match to faucets and hardware. Brushed/satin hides fingerprints better than polished.
Glass:
Pros: Ultra-sleek, modern, unique, easy to clean, highly durable (tempered), available in colors and patterns (etched, frosted, back-painted).
Cons: Highest cost, can feel cold, requires meticulous installation, can show water spots.
Design Use: Creates a stunning focal point, perfect for ultra-modern or luxurious bathrooms, kitchens, or minimalist spaces. Often used as a single accent.
Ceramic:
Pros: Classic, elegant feel, very durable surface, wide range of colors and decorative patterns (floral, geometric), excellent for traditional or cottage styles.
Cons: Can be brittle if impacted, heavier than plastic, limited style range for contemporary spaces.
Design Use: Perfect for period homes, traditional bathrooms and kitchens, adding a touch of vintage charm.
Wood & Sustainable Materials:
Pros: Warm, natural, unique, eco-friendly options (bamboo, reclaimed wood veneers). Adds organic texture.
Cons: Requires care (avoid moisture, can scratch), limited availability, may not suit all styles.
Design Use: Scandinavian, rustic, organic modern, or eclectic spaces. Creates warmth and connection to nature.

The Art of Coordination: Creating Harmony
Match Your Metals: This is the golden rule (pun intended!). Coordinate your switch and plate finish with your dominant cabinet hardware and faucet finish (e.g., brushed nickel pulls = brushed nickel switches; matte black faucet = matte black switches). Don’t mix too many metal finishes in a small space.
Consider Wall Color:
Light Walls: Dark switches (black, charcoal, bronze) create sophisticated contrast and definition.
Dark Walls: Light switches (white, brushed nickel, brass) pop and provide relief. Matching the wall color (e.g., white switch on white wall) creates a seamless, minimalist look.
Bold Walls: Neutral switches (black, white, stainless) usually work best to avoid clashing. A metallic switch can sometimes complement.
Factor in Lighting Fixtures: While hardware is primary, consider the finish of nearby sconces, pendants, or chandelier bases for additional cohesion.
Think About Texture: If your space features lots of natural textures (wood, stone, linen), a textured nylon plate or wood plate can reinforce that. A sleek metal plate complements polished concrete or marble.
The Power of Consistency: Using the same finish and style of switch and plate throughout your entire home creates a unified, polished, and intentional feel. It signals attention to detail. Deviations should be deliberate (e.g., a special glass switch in the master bath).
Beyond the Basic On/Off: Design-Centric Features
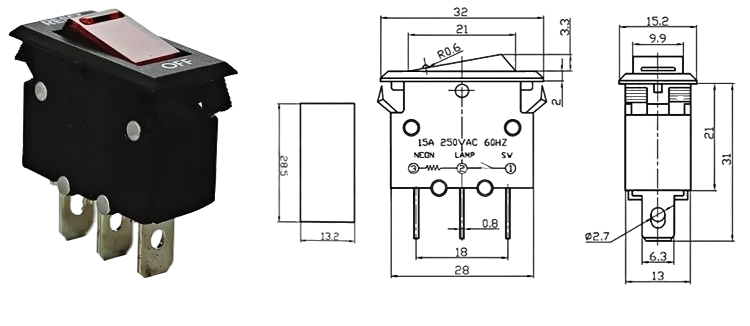
Illuminated Rockers: A small LED provides a soft glow. Choose the color (blue, green, amber, red) and behavior (glows when OFF for easy location, glows when ON as a status indicator). This tiny light becomes a subtle nightlight element.
Decorative Inserts: Some manufacturers offer interchangeable inserts for the rocker paddle itself – patterns, colors, or even customizable options.
Oversized or Unique Shapes: While Decora is standard, some designer lines offer slightly larger rockers or unique paddle contours for added visual impact.
Combination Devices as Design Elements: A rocker switch combined with a USB port or night light isn’t just functional; its design integration needs consideration. Does the USB port color match? Is the night light too bright or the wrong color temperature for the room’s ambiance?
Planning Your Switch Design Strategy
Define Your Overall Style: What is the dominant aesthetic of your home or the specific room?
Identify Key Finishes: What are the primary metal finishes of your faucets, cabinet hardware, and major light fixtures?
Choose Your Material Palette: Plastic for color/affordability? Metal for luxury? Wood for warmth? Glass for high-impact modern?
Select the Perfect Finish: Brushed Nickel? Matte Black? Polished Brass? Antique Bronze? White? Match to your key hardware.
Pick the Plate Style: Standard (visible screws), Screwless (ultra-clean), Mid-Screw (screw hidden under a snap-on cover)? Material should match or complement the switch.
Consider Special Features: Do you need/want illumination? Dimmers? Smart control? Ensure these features align aesthetically (e.g., dimmer slider style).
Get Samples: Order physical samples of the switch and plate. Hold them against your wall, next to your hardware and countertops. Lighting changes everything!
The Unsung Hero of Detail-Oriented Design
Light switches are touched multiple times a day. Their feel under your finger and their contribution to the room’s visual harmony are constant, subtle experiences. By elevating your choice from a default white plastic unit to a carefully selected rocker switch and plate that complements your design vision, you add a layer of thoughtful sophistication. It’s a testament to the idea that true design excellence considers every element, no matter how small. Investing in beautiful, functional rocker switches is a surprisingly impactful way to declare that you care about the details, enhancing both the usability and the aesthetic pleasure of your living space. Let your switches speak your design language.