Metal push button switches are essential components in a wide range of electrical and electronic systems. Known for their durability, reliability, and professional appearance, these switches are commonly used in industrial machinery, automotive controls, marine electronics, and smart home devices.
This article will explore the different types of metal push button switches, their key features, and how they are applied across various industries.
What Is a Metal Push Button Switch?
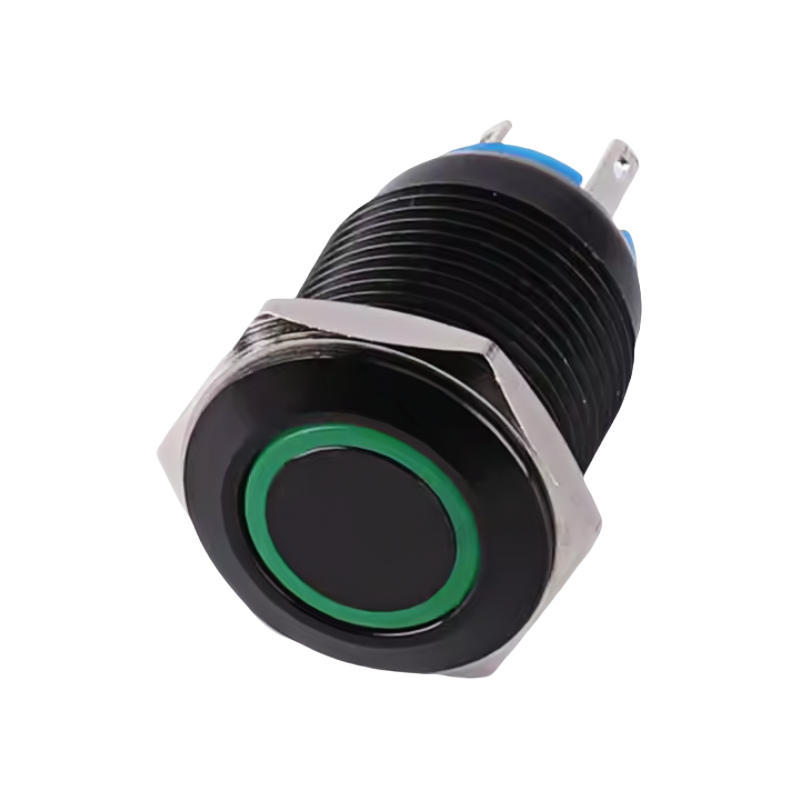
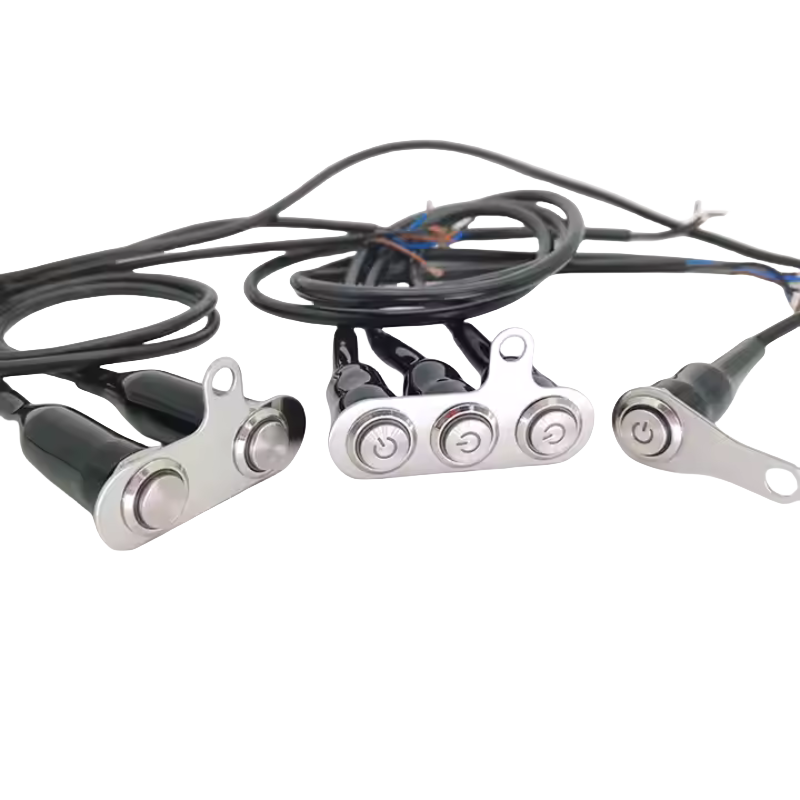
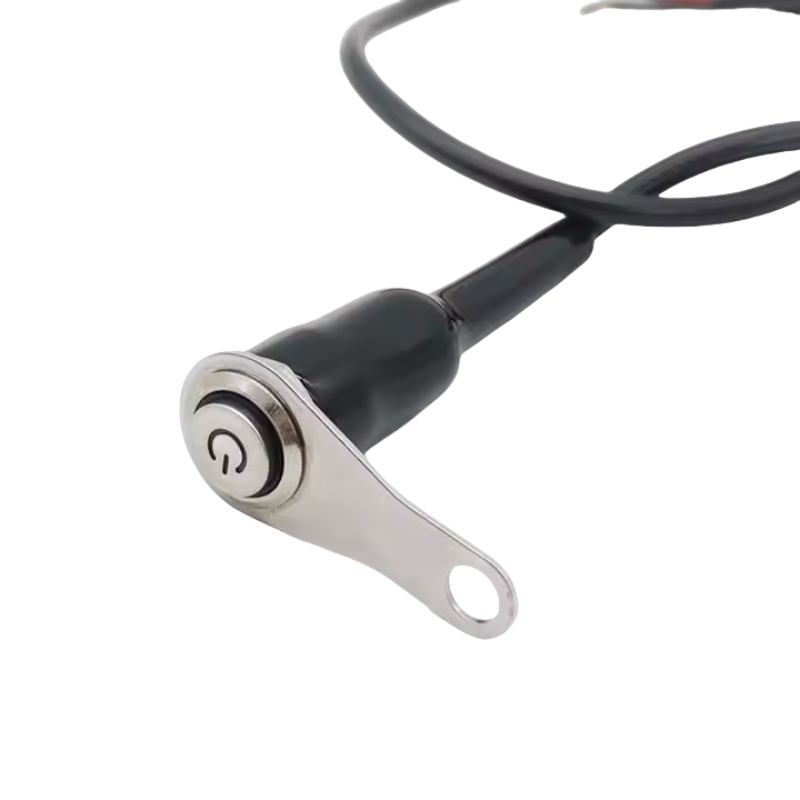
A metal push button switch is an electromechanical device that allows users to control an electrical circuit by pressing a button made from metal — typically stainless steel or aluminum. These switches are designed for repeated use and offer better resistance to wear, corrosion, and environmental stress compared to plastic alternatives.
They are widely used where a physical, tactile interface is required, such as emergency stop buttons, control panels, vehicle dashboards, and custom-built electronics.
Common Features of Metal Push Button Switches
1. Durable Construction
Made from high-quality metals, these switches can withstand frequent usage without showing signs of wear or degradation.
2. Long Operational Life
Designed to last for thousands to tens of thousands of operations, ensuring consistent performance over time.
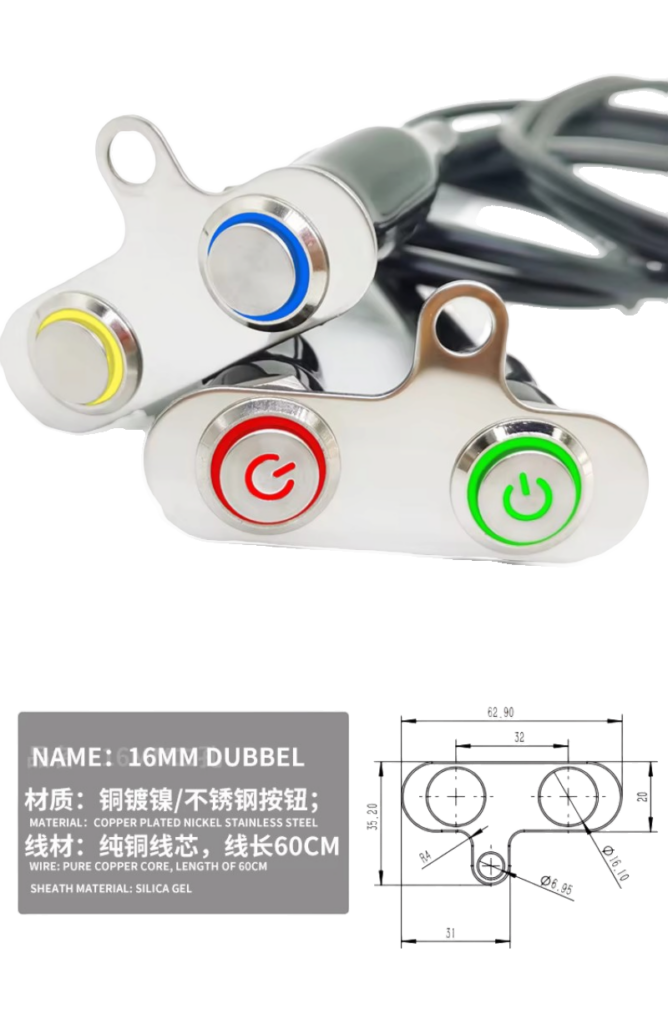
3. Multiple Sizes Available
Available in standard sizes including 12mm, 16mm, 19mm, and 22mm, making them compatible with most panel cutouts.
4. Waterproof Options
Many models come with IP65 or IP67 ratings, offering protection against dust, moisture, and even temporary submersion.
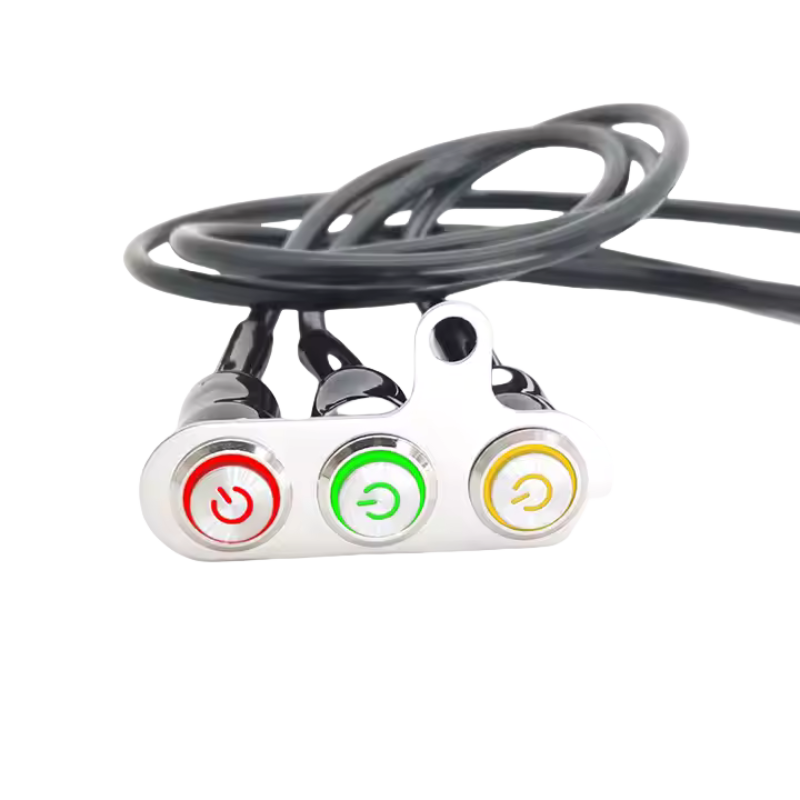
5. Illuminated Versions
Some switches feature LED lighting (ring or dot style) for improved visibility and status indication.
Types of Metal Push Button Switches
Metal push button switches can be categorized based on several criteria:
By Function:
- Momentary: The switch returns to its original state once released.
- Latching: The switch remains in the pressed position until pressed again.
By Contact Type:
- NO (Normally Open): Circuit closes when the button is pressed.
- NC (Normally Closed): Circuit opens when the button is pressed.
- CO (Changeover): Combines both NO and NC contacts in one unit.
By Voltage:
Most switches operate at 12V or 24V DC, although some support lower voltages like 5V for microcontroller-based applications.
By Lighting:
- Single-color LEDs (red, green, blue)
- RGB LEDs for customizable lighting
- Ring-style or dot-style illumination
Typical Applications
Due to their robustness and versatility, metal push button switches are found in numerous fields:
Industrial Equipment
Used in control panels, machine starters, and emergency stop circuits. Their durability makes them ideal for environments where reliability is critical.
Automotive Systems
Integrated into dashboards for engine start, window controls, HVAC settings, and more. Many modern vehicles use illuminated versions for enhanced visibility.
Marine Electronics
Installed in navigation systems, lighting controls, and communication equipment. Water-resistant versions are especially valuable in these environments.
Smart Home Automation
Custom lighting systems, security panels, and voice assistant interfaces often incorporate metal push buttons for a premium feel.
Commercial Devices
Found in ATMs, vending machines, ticket kiosks, and other public-use equipment due to their long lifespan and tactile feedback.
DIY Projects
Popular among hobbyists and makers working with Arduino, Raspberry Pi, robotics, and embedded systems. They provide a durable and stylish alternative to plastic buttons.
How to Choose the Right Switch
When selecting a metal push button switch, consider the following factors:
| Factor | Description |
|---|---|
| Size | Choose based on panel cutout (e.g., 12mm, 16mm) |
| Function | Momentary or latching |
| Contact Type | NO, NC, or CO |
| Voltage | Ensure compatibility with system voltage |
| Lighting | Optional LED for visibility |
| Waterproof Rating | IP65 or IP67 for harsh environments |
| Mounting Depth | Check available space behind panel |
Understanding these parameters helps ensure you select a switch that meets both functional and aesthetic requirements.
Installation Tips
Proper installation ensures optimal performance and longevity:
- Drill a clean hole matching the switch size (e.g., 12mm, 16mm).
- Insert the switch and secure it using a nut or mounting ring.
- Connect wires according to the wiring diagram provided.
- Test the function before full installation.
- Protect connections with insulation or heat shrink tubing.
Following these steps minimizes the risk of damage during installation and ensures stable operation.
Maintenance and Troubleshooting
To keep your switches functioning well:
- Clean the surface regularly with a dry cloth.
- Inspect for signs of corrosion in humid environments.
- Check wiring connections periodically.
- Replace faulty switches as needed.
Common issues include:
- No response: Check wiring and power supply.
- Intermittent operation: Secure loose connections.
- LED failure: Test polarity and power source.
Regular maintenance extends the life of the switch and ensures reliable performance.